
This month's kit includes a lesson for using light molding paste on fabric. The following photos will show you a variety of ways to use it to provide texture to the surface of your art quilt. The paste can be applied directly to the quilt or you can can create an applique on another fabric which you would cut out and sew onto the surface of your quilt. The paste can be colored before application with any acrylic paint or painted after it has dried. Experiment with color and values.
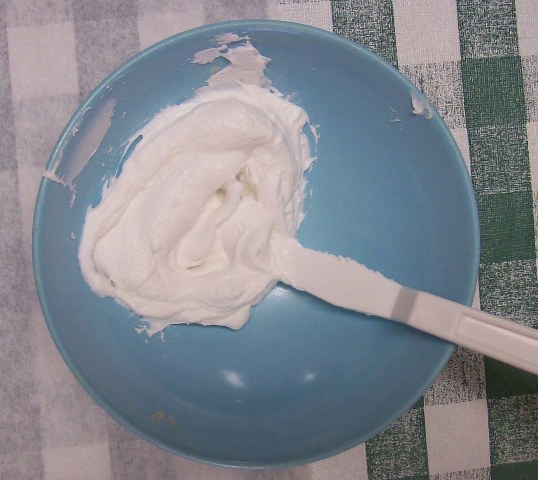
Molding paste has been used by artists for years on canvas to add texture to a painting. It is light as air and will spread easily with a palette knife or your finger. Once dried, you can sew through it easily. It remains flexible and add very little weight to your quilt.


Using a stencil is an easy way to apply a motif. Generally, your paste will be as thick as the stencil, but you can play around with adding more paste before removing the stencil. Try cutting your own motif in the blank stencil plastic included in your kit.


Use the palatte knife, fork or other tools to create ridges and shapes.


Try the damp sea sponge to apply the molding paste.


While the paste is wet, press beads, yarns, shells, or other small items onto the surface. Add texture with bubble wrap or netting.


Add a second color, or thin the paste and apply to a motif in the fabric by brush.


After you have finished with your design, let the molding paste dry completely. The time it takes will depend upon how thick it has been applied. Sew it in place if you have created an applique or add thread details.

Sue's dahlia was shaped on a piece of muslin with the white molding paste. Once dry, she painted it the beautiful blue and once that was dry, she cut it out to use as an applique. It was stitched onto her sandwiched quilt to create the petal detail.

No comments:
Post a Comment